Could you imagine being able to access and control your Raspberry Pi from anywhere on Earth, entirely free of charge? This is not a dream, but a readily achievable reality, and we're about to delve into the specifics of remote login Pi over internet free a solution that bypasses the need for expensive subscriptions or complex, proprietary tools. In an era where digital connectivity reigns supreme, the ability to remotely access devices has transformed from a mere convenience into a fundamental requirement. Whether you're a seasoned tech aficionado, a dedicated hobbyist, or a professional seeking greater control over your technological landscape, the power to remotely manage your Raspberry Pi is a game-changer. Let's embark on this journey, step by step, to unlock this remarkable capability without straining your budget.
The advantages of remote access extend far beyond simple convenience; it signifies genuine technological freedom. Consider the flexibility of remotely adjusting your home automation setup, monitoring your security systems from any location, or administering a server from the comfort of your own space or even from a distant corner of the world. Perhaps the most appealing aspect? It comes entirely at no cost. We'll equip you with the knowledge to achieve all this using readily accessible and easily implementable tools.
Before we immerse ourselves in the technicalities, let's address a common misconception. Yes, numerous paid solutions promise seamless remote access. However, why invest when you can achieve equivalent results with a bit of ingenuity and freely available software? Join us as we guide you through the setup, transforming your Raspberry Pi into a fully accessible remote device. Let's commence!
- Joe Scarboroughs Illness Unveiling The Truth His Journey
- Hollywood Movies Your Ultimate Guide Where To Watch Them
| Category | Details |
|---|---|
| Project Name | Remote Access Raspberry Pi |
| Objective | Enable free remote access to a Raspberry Pi over the internet. |
| Primary Benefits |
|
| Applications |
|
| Required Components |
|
| Key Technologies | SSH, Port Forwarding, Dynamic DNS |
| Reference Website | Raspberry Pi Official Documentation |
The allure of a remote login Pi over internet free arrangement is undeniable, offering a suite of compelling advantages. Primarily, it removes the necessity of physical proximity to your device, saving valuable time and effort. Whether you're troubleshooting a server malfunction or simply want to monitor your home automation system's status, remote access grants unparalleled flexibility, allowing you to connect from any location. Furthermore, it's a highly cost-effective solution, eliminating the need for potentially expensive software licenses or recurring subscription fees.
A crucial aspect is the enhanced security. By configuring remote login properly, you significantly reduce the risk of unauthorized access to your Raspberry Pi. Employing the correct configurations and implementing appropriate security measures ensures your data remains safe, while still offering the convenience of remote access.
This accessibility is not merely about practicality; it unlocks a vast array of innovation opportunities. You can effortlessly run a personal web server, manage your Internet of Things (IoT) devices, or oversee complex projects from a distance. The key advantage is that this functionality is available at no cost, without sacrificing any of its performance or capabilities.
Before diving into the setup, let's ensure you have everything you need. The process is not as complex as it might seem. A quick overview of essential components follows:
- A Raspberry Pi (any model)
- An active internet connection
- A computer or smartphone to access your Pi remotely
- A static IP address or a dynamic DNS service (we’ll cover this shortly)
- A basic understanding of Linux commands (we'll provide guidance)
Once all the necessary components are assembled, you will be prepared for the next step: configuring your Raspberry Pi for remote access.
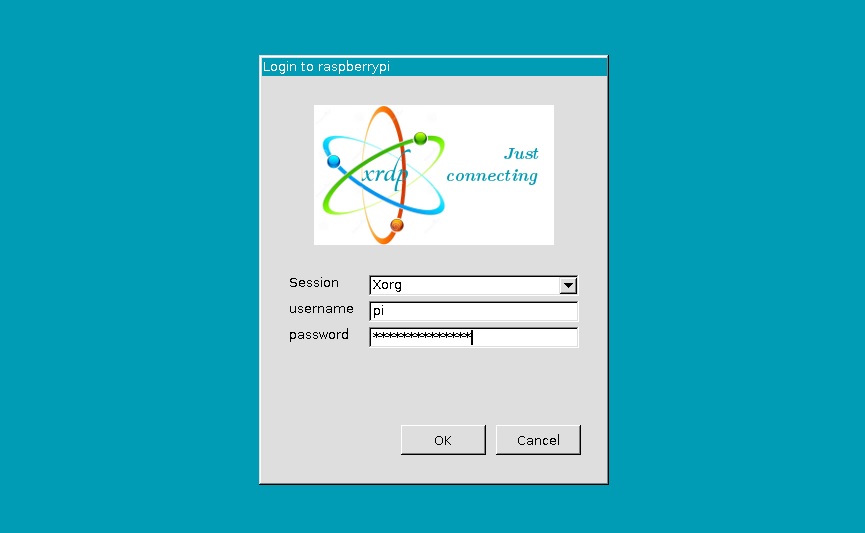
SSH, or Secure Shell, stands as the very foundation for remote login Pi over internet free access. SSH allows you to establish a secure connection to your Raspberry Pi from a different device, which facilitates remote command execution and file management. Here's how to set it up:
First, start your Raspberry Pi and access the desktop environment. Next, open the terminal and input the following command:
sudo raspi-config
This command opens the Raspberry Pi configuration tool. Navigate to the "Interfacing Options" menu and select "SSH." Enable SSH by choosing "Yes" when prompted. After enabling it, select "OK" and exit the configuration tool.
To verify that SSH is active, enter this command in the terminal:
sudo service ssh status
If the SSH service is active and running, a confirmation message will appear. Congratulations, SSH has been successfully enabled on your Raspberry Pi!
Now that SSH is running, safeguarding the connection is essential to prevent unauthorized access. Here's how you can fortify your Raspberry Pi's security:
- Change the default password for your Pi’s user account.
- Disable root login to prevent brute-force attacks.
- Consider using a non-standard port for SSH to make it harder for attackers to find.
By implementing these security measures, you'll significantly reduce the risk of your Raspberry Pi being compromised.
A static IP address is a cornerstone of remote login Pi over internet free. Unlike dynamic IP addresses, which change with each router restart, a static IP remains constant, allowing you to consistently connect to your Raspberry Pi via the same address.
To assign a static IP address, open the terminal on your Raspberry Pi and modify the network configuration file using this command:
sudo nano /etc/dhcpcd.conf
Add the following lines at the end of the file, remembering to replace the placeholders with your network settings:
interface eth0static ip_address=192.168.1.100/24static routers=192.168.1.1static domain_name_servers=192.168.1.1
Save the file and restart your Raspberry Pi to apply the changes. Your Pi should now have a static IP address, ready for remote access.
Port forwarding is the process of directing incoming internet traffic to a specific device on your local network. In this scenario, traffic will be forwarded to your Raspberry Pi, giving you remote access over the internet.
To configure port forwarding, log in to your router's admin interface using a web browser. Locate the "Port Forwarding" or "Virtual Servers" section and add a new rule with these settings:
- Service Name: SSH
- External Port: 22 (or a custom port if you changed it earlier)
- Internal IP Address: The static IP address of your Raspberry Pi
- Internal Port: 22
Save these changes and test the connection by accessing your Raspberry Pi from another device on the same network. If it works as expected, you're ready for the next step.
If your ISP assigns a dynamic IP address to your router, you'll need a dynamic DNS service to maintain a stable connection to your Raspberry Pi. Dynamic DNS automatically updates your domain name to reflect your current IP address, ensuring consistent remote access.
Several free dynamic DNS providers are available, such as No-IP and DuckDNS. Simply create an account, set up a hostname, and configure your router to update the DNS record whenever your IP address changes.
With everything set up, it's time to test your remote login Pi over internet free. From another device, open a terminal or SSH client and enter this command:
ssh pi@your-domain.com
Replace "your-domain.com" with the hostname from your dynamic DNS service. Enter your Raspberry Pi's password when prompted, and you'll be connected.
Windows users can utilize a program like PuTTY to connect via SSH. Simply input your hostname or IP address, select the SSH protocol, and click "Open." You'll be prompted for login credentials, and you'll be connected.
Even with meticulous planning, issues can arise. Here are common problems and solutions:
- Connection Refused: Double-check your port forwarding settings and verify SSH is running on your Raspberry Pi.
- Host Unreachable: Confirm your dynamic DNS service is updating correctly, and the router's firewall is not blocking incoming connections.
- Authentication Failed: Ensure you're using the correct username and password for your Raspberry Pi.
If the above solutions don't work, consult your router's documentation or seek help from online forums. The Raspberry Pi community is incredibly supportive and can offer quick solutions.
Once you master the basics, explore advanced techniques to enhance your remote login experience. Consider these ideas:
- Set Up a VPN: A virtual private network (VPN) adds an extra layer of security to your remote connections, ensuring your data remains encrypted and private.
- Use SSH Keys: Instead of passwords, configure SSH with key-based authentication, offering enhanced security and convenience.
- Run a Web Server: With remote access to your Raspberry Pi, you can host your website or application using a web server.
These advanced tips can elevate your Raspberry Pi setup, unlocking greater possibilities for innovation.
Remote login Pi over internet free is a powerful tool that can transform how you interact with your devices. By following the steps in this guide, you've acquired the skills to set up secure and reliable remote access to your Raspberry Pi. Whether managing a home automation system, running a web server, or tweaking your setup from afar, the possibilities are limitless.
Take action today and start exploring remote access. Share your experiences in the comments, and check out our other guides for more tips and tricks. Happy tinkering!
For further reading and additional resources, refer to these links:
- Raspberry Pi Official Documentation
- No-IP Dynamic DNS Service
- DuckDNS Dynamic DNS Service
- 4movierulz Safe Or Risky Your Guide To Latest Movies Web Series
- Top Telugu Movie Rules In 2025 The Future Of Tollywood